Top Tips for How to Cure UV Resin Properly?
Learning to Cure Uv Resin properly can make the difference between a clear, firm finish and a sticky surface. Yet curing is not simply a matter of shining a lamp for a few minutes. Resin type, layer thickness, pigment, lamp wavelength, and distance all affect the result. Small details matter. A lamp that works well for one product may not suit another.
A dependable routine starts with the resin maker’s instructions. Check the recommended wavelength and curing time, then use a compatible UV lamp. Pour thin layers when the project allows; thick or darkly colored pours may block light from reaching deeper resin. Keep the lamp at the stated distance, and rotate the piece if its shape leaves shaded areas. Wear suitable eye protection, work in a ventilated space, and avoid touching uncured resin. These steps support safer handling and more consistent results.
After curing, inspect the surface and edges rather than judging only by appearance. A piece can look hard while remaining tacky in a shadowed spot. If the product instructions permit, apply additional curing time or expose missed areas directly. Don’t assume longer exposure fixes every problem; incorrect wavelength, excessive depth, or incompatible materials may be the real cause. I’d also avoid promising a perfect finish every time—small test pieces can reveal surprises before they affect a larger project. Careful checks make the process more predictable, even when the first attempt is imperfect.
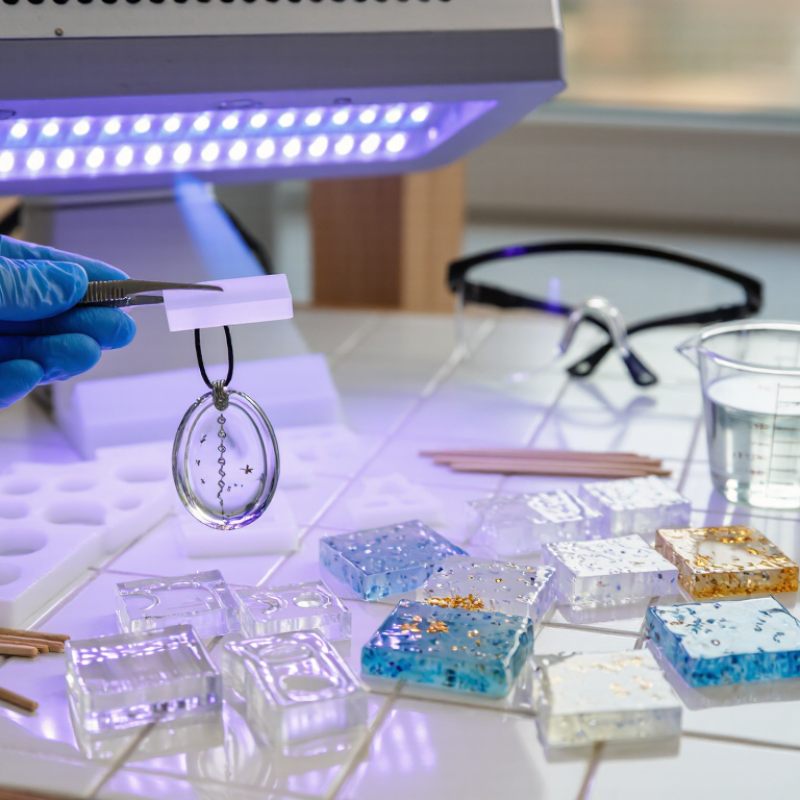
Understanding UV Resin and Its Curing Process
Top Tips for How to Cure UV Resin Properly?
Understanding UV Resin and Its Curing Process
UV resin hardens when light activates photoinitiators, which start a chemical reaction in the liquid. The wavelength must suit the resin’s chemistry. The CIE International Lighting Vocabulary (S 017/E:2020) defines UVA as 315–400 nanometres, but that range alone does not guarantee a full cure. RadTech’s UV/EB curing guidance also emphasizes matching the light source’s output to the material. Check the resin’s technical information rather than guessing from lamp colour.
Cure depth depends on light intensity, exposure time, resin thickness, and pigments. A clear, thin layer may cure evenly; a dark or opaque pour can block light beneath the surface. Keep pieces level, rotate them if the lamp illuminates unevenly, and follow the stated layer limits. Don’t trust the surface alone. A firm top can hide soft resin underneath, especially around trapped bubbles or sharp corners.
Clean, dry molds help prevent cloudy spots, while dust can leave tiny flaws. I still find it easy to underestimate how much thickness changes the result. That deserves a second check. Use measured layers and allow the recommended exposure, but avoid assuming that longer is always better; heat buildup can distort delicate work. Ventilate the workspace and avoid looking directly at operating UV lamps.
Choosing the Right Resin, UV Lamp, and Workspace
Choosing the right resin is the first step toward a reliable cure. Check its recommended wavelength and layer thickness before pouring. Resin that is heavily pigmented or applied too deeply may block light from reaching the lower layers. Small details matter. A thin test piece can reveal whether your resin and lamp work well together before you commit to a larger project.
Match the UV lamp’s wavelength to the resin’s instructions, and check that its light reaches the whole piece. A lamp’s advertised power does not guarantee an even cure; distance, shadows, and lamp condition also matter. Keep the lamp at the suggested distance, and rotate the piece if some areas sit outside the beam. Follow the stated curing times rather than relying on surface appearance alone. A smooth top can hide tacky resin underneath.
Prepare a clean, dry workspace with good airflow, and keep dust away from the curing surface. Place the project on a level, heat-resistant surface so it stays steady under the lamp. Wear gloves when handling uncured resin, and avoid touching the piece until the recommended cure is complete. Even a careful setup can produce an uneven result, so inspect the underside and thicker sections before calling it done.
Preparing the Resin and Mold for Curing
Preparing the resin and mold well makes curing more predictable. Work on a level, dust-free surface, and check that your UV lamp matches the resin’s curing requirements. A clean setup helps prevent grit and stray fibers from becoming trapped in the finished piece. Keep it simple.
Inspect the mold for dust, moisture, and damage. Wipe it with a lint-free cloth, then let it dry fully. The mold must allow enough UV light through; opaque or deeply colored molds can leave resin soft underneath. I would test a small pour before filling a detailed mold. It is easy to assume a clear-looking mold will transmit enough light, but that assumption can be wrong.
Pour slowly to reduce bubbles, and avoid filling narrow cavities beyond the resin’s recommended layer depth. Thick pours, dark pigments, and embedded objects can block light from reaching the center. If bubbles remain, let the resin sit briefly or use a suitable bubble-removal method that does not contaminate the mold. Wear gloves, avoid skin contact with uncured resin, and follow the product’s safety instructions. Check the surface and edges before curing; a quick inspection now can save a disappointing, tacky result later.
Curing UV Resin in Thin, Even Layers
Thin, even layers give UV light a clearer path through the resin. A thick pour may feel firm on top while remaining soft underneath. Work in shallow lifts, guiding resin into corners with a toothpick or small spreader. Stay within the layer depth recommended for your resin; formulas and lamps vary. Small pours are easier to inspect.
Cure each layer before adding another, following the resin’s instructions for exposure time and lamp compatibility. Position the lamp for even coverage without letting it touch the surface. Rotate the piece if edges fall into shadow. Bubbles, dark pigments, and raised rims can block light or create uneven thickness. A quick pass may not be enough.
If the surface stays tacky, check the wavelength, exposure, and layer depth before adding more resin. Some products can remain slightly tacky at the surface, so consult their instructions. It is easy to rush a corner and discover the miss later. Annoying, but instructive. Let the piece cool, then inspect it under bright light before handling it further.
Checking the Cure and Fixing Common Problems
Top Tips for How to Cure UV Resin Properly?
Checking the Cure and Fixing Common Problems
A glossy surface can still hide a soft layer underneath. Check the thickest area, edges, and any spot shielded by a mold before calling a piece cured. RadTech’s UV/EB curing technical guidance describes dose in millijoules per square centimeter: at a measured 10 mW/cm², 60 seconds delivers 600 mJ/cm². This is an example, not a universal target; resin, wavelength, distance, and color all affect results. A timer alone can mislead.
Tip: Follow the resin’s stated wavelength and exposure guidance. Measure lamp output at the work surface when possible, and cure thin layers rather than one deep pour. Turn the piece to expose shaded sides. Wear suitable gloves when handling uncured resin, and keep the work area ventilated.
If the surface stays tacky, oxygen inhibition or insufficient exposure may be involved. Try an additional cure using the recommended wavelength, but do not assume more time will fix a shaded or overly thick section. A cloudy finish can point to moisture, contamination, or heat buildup; inspect the setup and test a small sample. I would not trust appearance alone. That is an easy mistake. Record the lamp distance and cure time, then compare the next test piece.